
Fall Roof Maintenance Checklist: Protect Your Home Before Winter
Every winter we get the same call: a ceiling stain, an ice dam, a leak that showed up during the first real cold snap. And almost every time, the problem was visible in October. Fall roof maintenance is the cheapest work you will ever do on your house, because the thing you fix for $300 in October is the thing that costs thousands in January once water has been inside the wall for six weeks.
Here is the checklist we give Berks County homeowners, in the order we would actually do it. Most of it takes an afternoon and none of it requires getting on the roof.
The short version
Clear the gutters, check the flashing and valleys, trim branches back off the roof, look in the attic for daylight and damp insulation, and fix anything small before the first hard freeze. In Berks County, that deadline is usually late October to mid-November.
Why October Is a Deadline, Not a Suggestion
Pennsylvania winters do something specific to roofs: they cycle. We cross the freezing mark dozens of times between November and March. Water gets into a hairline gap around a chimney during a warm rain, freezes overnight, expands about 9 percent, and pries that gap a little wider. Then it thaws, more water goes in, and it happens again. A gap that was nothing in October is a real opening by February.
There is also a practical reason. Sealants and shingle adhesive need warmth to bond. Repairs made in 30-degree weather on a wet roof are worse repairs than the same work done on a dry 60-degree afternoon, and emergency winter repairs cost more and wait on the weather. Fall is the last comfortable window.
1. Clear the Gutters and Downspouts
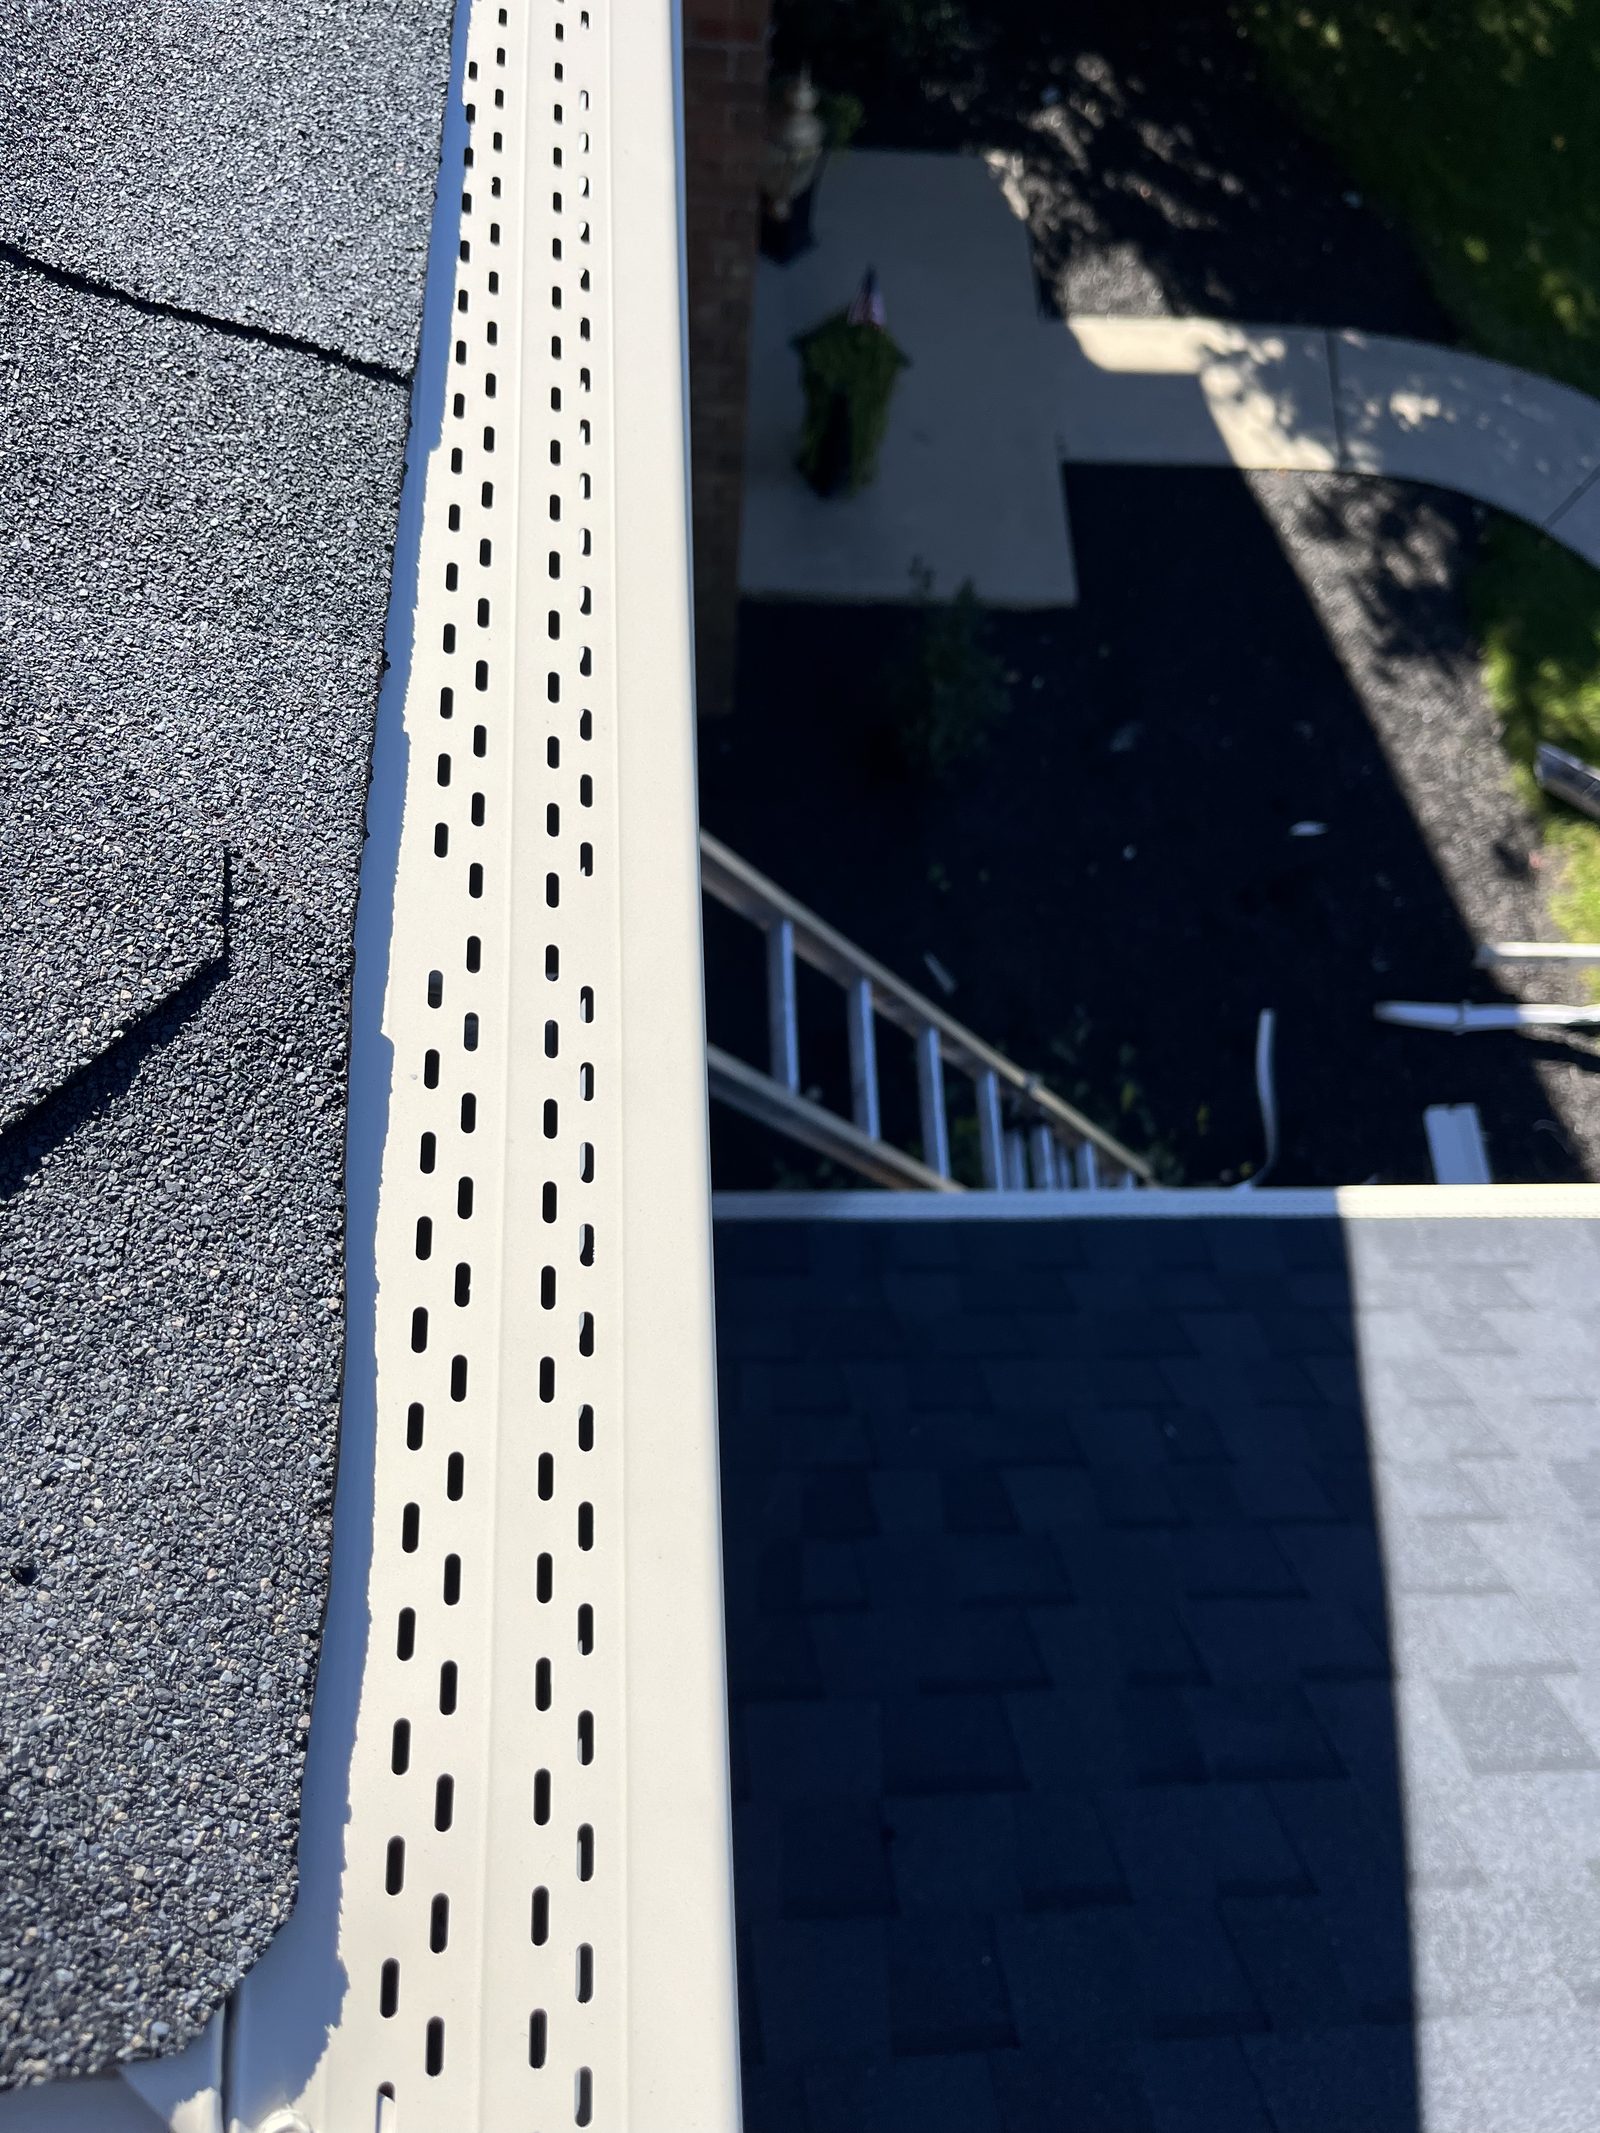
This is the single highest-value item on the list. A gutter packed with wet leaves does not drain — it holds a trough of water along your roof edge. That water backs up under the first course of shingles, soaks the fascia and soffit, and when it freezes it becomes the anchor point for an ice dam.
Plan on cleaning twice: once in early-to-mid October after the first heavy drop, and again once the trees are bare, usually mid-to-late November around here. One September cleaning is not enough on a lot with mature trees.
- Check the downspouts, not just the troughs. Run a hose. If water backs up at the top, the elbow is clogged.
- Look at where the water lands. Downspouts should discharge at least four to six feet from the foundation. Winter water pooling at the foundation is its own problem.
- Watch for sagging or pulled-away sections. Full gutters are heavy. A section pulling off the fascia means the hangers or the fascia board are already failing.
- Consider leaf guards if you are cleaning more than twice a year. They are not maintenance-free, but they turn a two-hour job into a twenty-minute one.

2. Look at the Shingles — From the Ground
You do not need to be on the roof. A pair of binoculars from the driveway and the far corners of the yard will show you most of what matters. Walk the full perimeter and look for:
- Missing, cracked, or curling shingles. Curled edges mean the shingle has lost flexibility and will not lie down against wind.
- Dark patches or bare spots where the granules have worn off. Granules are the shingle's sunscreen; once they are gone, the mat underneath degrades fast.
- Granules in the gutters. A heavy accumulation of sand-like grit is a sign the roof is shedding its surface.
- Shingles that look lifted or wavy along a ridge or an edge, which usually points to wind damage or failed adhesive.
- Sagging in the roof line. A dip or wave in a plane that should be straight is a structural concern, not a shingle concern. Call someone.
If you find something that looks like storm damage rather than age, note the approximate date of the storm. That matters later. Our guide on spotting hail damage covers what the difference actually looks like up close.
3. Inspect the Flashing, Chimney, and Valleys
Most roof leaks are not through the field of the shingles. They are at the transitions — the metal flashing where the roof meets a chimney, a wall, a dormer, or another roof plane. Those are the places to look hardest.
- Chimney flashing and counter-flashing. Look for lifted metal, rust, or old tar patches. Tar is a temporary fix that fails; if you see a lot of it, that detail has been leaking for a while.
- Step flashing along walls and dormers. It should run up under the siding, not be caulked to the outside of it.
- Valleys. The channels where two roof planes meet carry the most water of anywhere on the roof. They should be clean and clear. Packed leaves in a valley will dam water in exactly the worst place.
- The chimney crown and mortar. Cracked crowns let water into the masonry, where it freezes and spalls the brick apart over a winter or two.
4. Trim Back Overhanging Branches
Branches over a roof do three things, all bad. They drop leaves directly into the valleys and gutters, they hold shade and moisture on the shingles which encourages moss and algae, and under an ice or wet-snow load they come down. A limb that clears the roof by two feet in summer may be sitting on it under a half inch of ice.
Aim for at least six to ten feet of clearance from the roof surface. For anything near power lines or anything you would need to climb to reach, hire an arborist — this is one of the few parts of fall maintenance where the risk is genuinely high.
5. Go Up in the Attic with a Flashlight
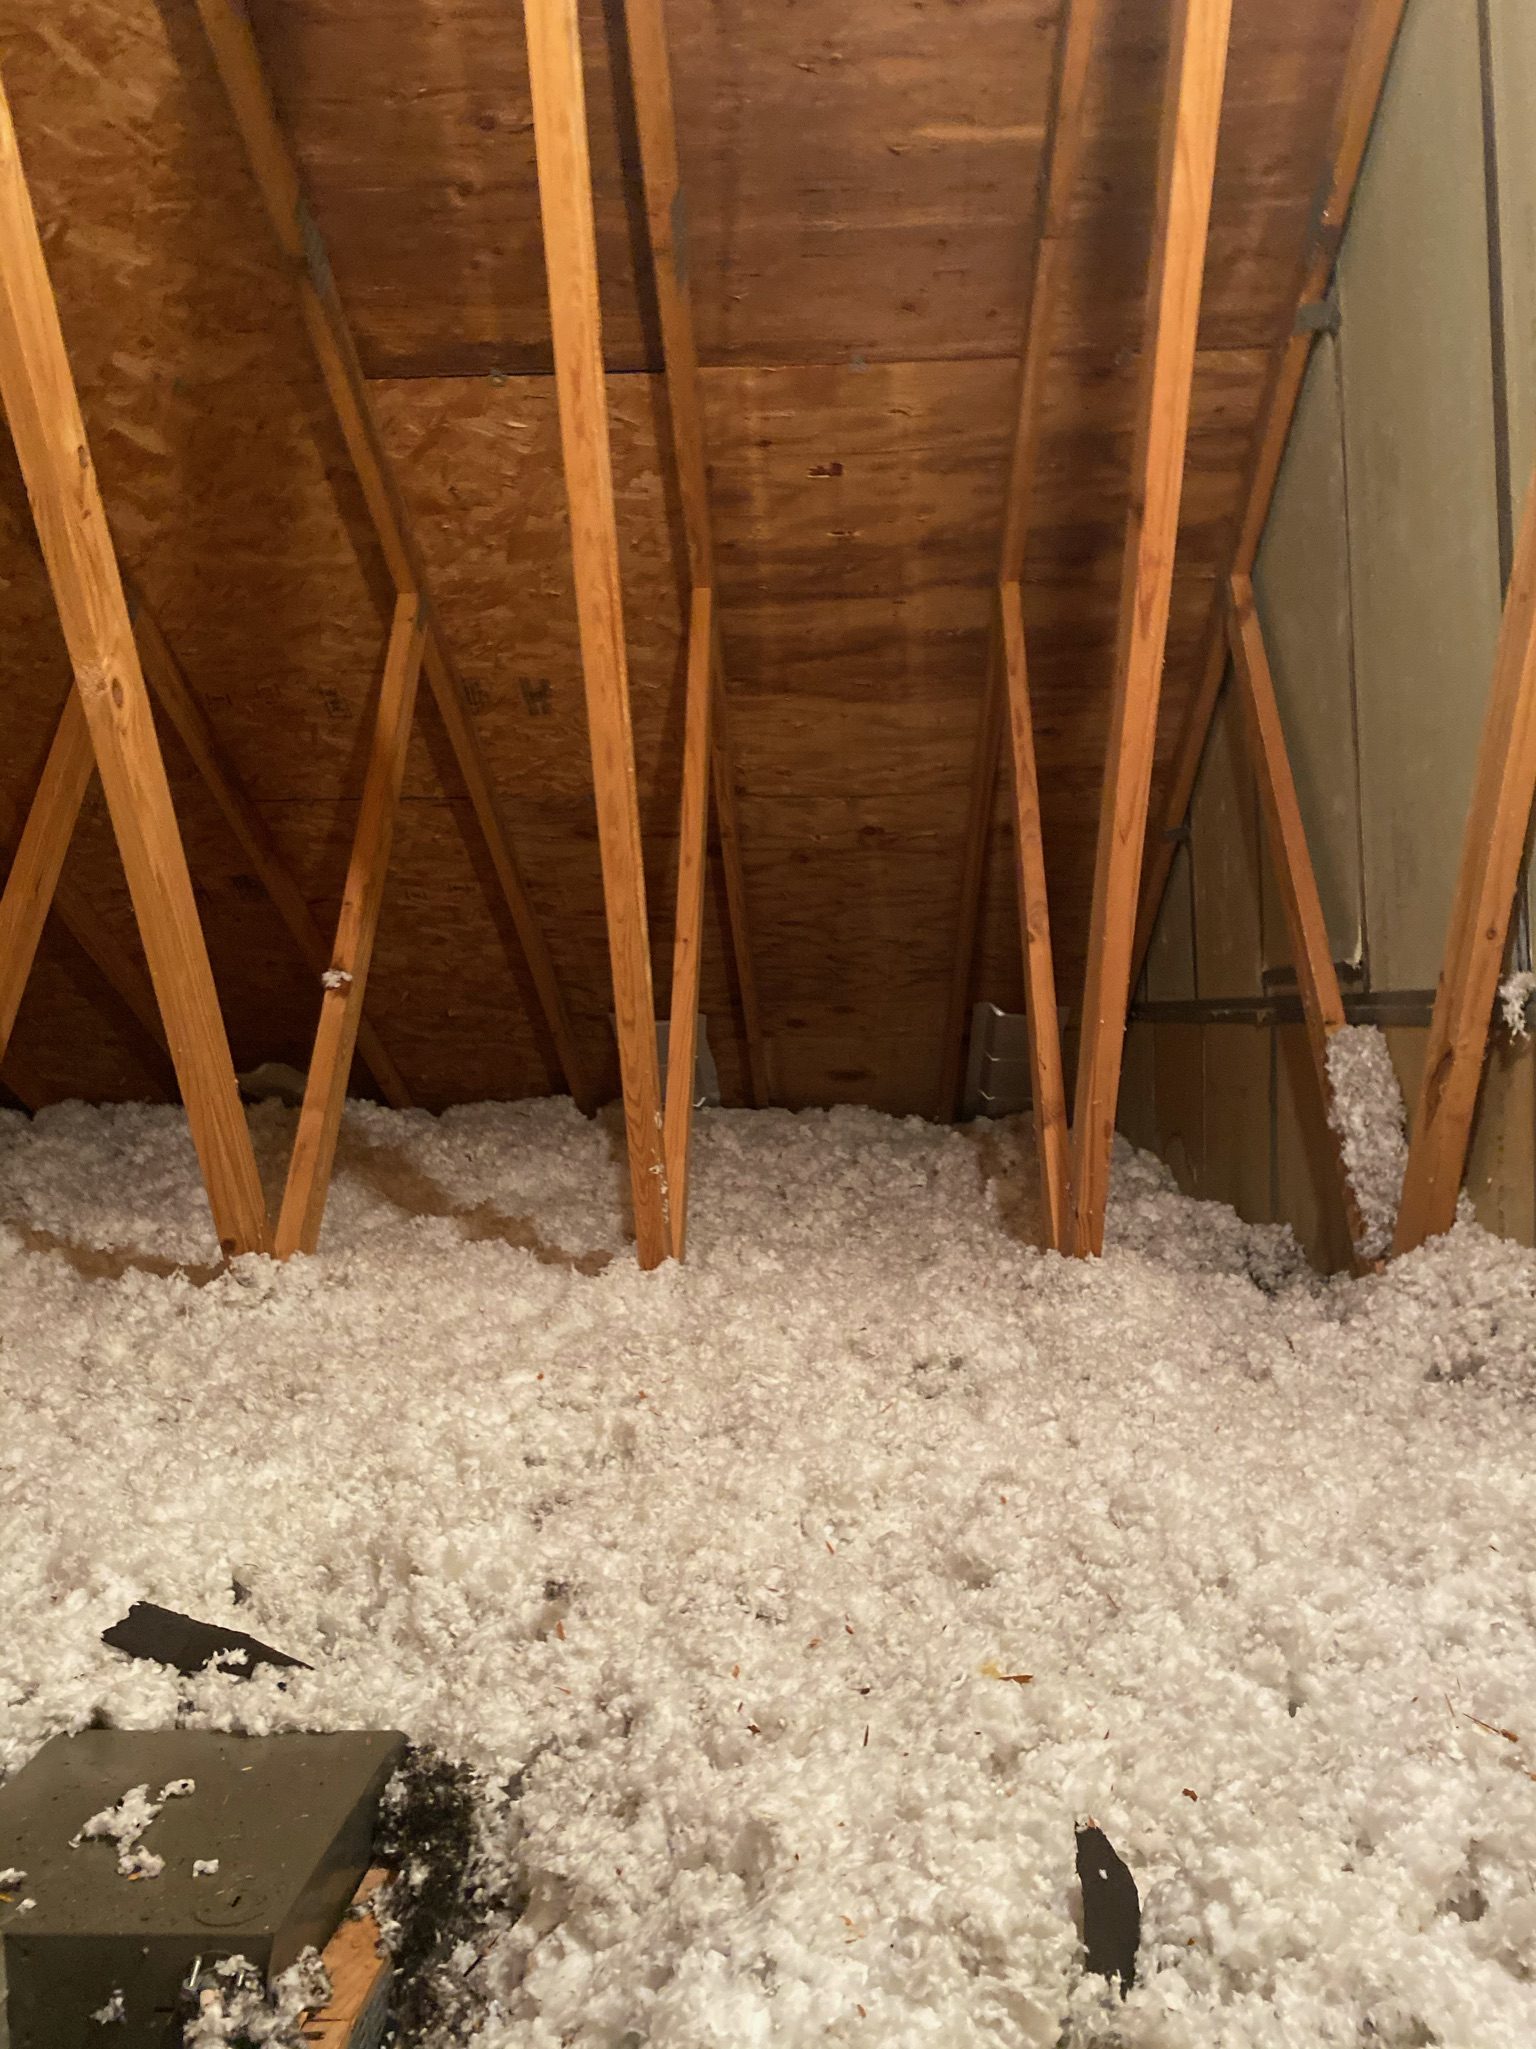
The attic tells you more about your roof than the roof does, and it is the safest place to look. Pick a bright day, turn your flashlight off for a minute once your eyes adjust, and look for these:
- Daylight through the decking. Any pinpoint of light where there should not be one is a hole.
- Dark streaks or stains on the rafters and sheathing. These mark where water has run. Touch them — damp is active, dry and crusty may be old.
- Matted or discolored insulation. Insulation that has been wet is compressed and darkened, and it no longer insulates even after it dries.
- Rusted nail tips. Rust on the underside of roofing nails means condensation, which means a ventilation problem.
- Any musty smell. Mold needs about 24 to 48 hours of moisture to establish. If your attic smells like a basement, something is wet. Our guide to mold after water damage covers what happens next.
6. Check Attic Insulation and Ventilation
This is the step almost everyone skips, and it is the one that prevents ice dams. Here is the mechanism: heat escaping from your living space warms the underside of the roof deck. Snow on the warm part of the roof melts, the water runs down to the cold eave that overhangs unheated space, and it refreezes there. That ridge of ice builds, backs water up under the shingles, and the leak shows up in the room below.
The fix is not a heat cable. The fix is keeping the roof deck cold and even:
- Adequate insulation on the attic floor so heat stays in the house. In our climate zone that generally means R-49 or better, roughly 16 to 20 inches of blown insulation.
- Clear soffit vents. Insulation pushed into the eaves blocks the intake air. Baffles keep that channel open.
- Working ridge or roof vents so cold air entering at the soffits can exit at the peak.
- Bath fans and dryer vents that exhaust outside, not into the attic. A bath fan dumping humid air into a cold attic will soak the sheathing all winter.
7. Check the Pipe Boots and Skylights
Rubber pipe boots — the collars around plumbing vents — are usually the first thing on a roof to fail, often around year 10 to 15, long before the shingles are done. They crack from UV exposure and then leak straight down the pipe into the ceiling. From the ground you can sometimes see the split; from the attic you will see the staining below it.
Skylights are the other common culprit. Look at the seals and the flashing kit around each one, and check the drywall at the corners of the light well inside the house for staining.
8. Walk the Inside of the House
Spend ten minutes looking up. Ceiling stains, especially rings with a darker edge, bubbling or peeling paint near an exterior wall, and a persistent damp smell in an upstairs closet are all roof symptoms showing up two rooms away from the actual hole. Catching one now means a repair; catching it in February often means drywall, insulation, and a mold question.
9. Look at the Siding, Soffit, and Fascia
While you are circling the house for the shingle check, look at the edges. Peeling or rotted fascia board, soffit panels that have dropped or come loose, and gaps where siding meets trim are all winter entry points — for water and for the squirrels and birds that will notice them before you do. Loose siding is also the thing that comes off in the first big December wind.
10. Get a Professional Inspection Before the First Freeze
Everything above is what you can see. A HAAG-certified inspection is what you cannot: the condition of the mat under the granules, whether that lifted shingle is isolated or a pattern across the whole slope, whether the decking has soft spots, and whether what you are looking at is normal aging or a documented storm event.
Ours is free and there is no obligation. If your roof is fine, we will tell you that and put it in writing with photos — which is genuinely useful to have on file before winter. If it needs work, you get a written scope while there is still time to do it in good weather.
What Skipping It Looks Like in January
The clogged gutter becomes an ice dam. The ice dam backs water under the shingles. The water finds the seam in the decking, runs down the rafter, soaks the insulation, and comes through the bedroom ceiling. Now you are dealing with a roof repair you cannot safely do until a thaw, a drying job, a drywall repair, and a mold inspection — in the coldest, most expensive month to do any of it.
If the Damage Looks Storm-Related
There is an important distinction here. Fall maintenance problems — worn shingles, clogged gutters, aging boots — are homeowner maintenance, and insurance does not cover them. But if what you find is sudden damage from a dated storm, such as wind-lifted shingles after a specific windstorm or hail bruising from a summer event you never had looked at, that is a different conversation and may be a covered claim subject to your deductible.
To be clear about our role: we are a roofing and restoration contractor, not public adjusters or attorneys, and we do not negotiate your settlement. What we do is document the damage thoroughly with photos, meet your adjuster on-site, reconcile the repair scope line by line, and file supplements for scope the estimate missed. If you think what you found might be storm-related, our insurance claims page walks through how that process actually works.
The Printable Version
If you want to knock this out in one weekend, this is the whole list:
- Clean gutters and downspouts; flush with a hose; plan a second cleaning after leaf drop
- Scan every roof slope from the ground with binoculars for missing, curled, or bald shingles
- Check chimney flashing, step flashing, and valleys for lifted metal, rust, tar patches, or debris
- Trim branches back six to ten feet from the roof surface
- Attic check: daylight, stains, damp or matted insulation, rusted nails, musty smell
- Confirm soffit vents are clear and insulation is adequate and not blocking airflow
- Verify bath and dryer vents exhaust outside, not into the attic
- Inspect rubber pipe boots and skylight seals for cracks
- Walk the interior ceilings and upstairs closets for stains, bubbling paint, or damp smells
- Check fascia, soffit, and siding edges for rot, gaps, and loose panels
- Book a free professional inspection before the first hard freeze
If spring is more your season for this kind of thing, we have a companion list for that too: how to check your roof before storm season.
Get It Checked Before the First Freeze
Free, no-obligation HAAG-certified roof inspection across Berks County and nine Pennsylvania counties — with a written report and photos either way.